
Cannon is a well-known name in the multi-media business and they have a variety of products ranging from cameras, recording mics and much more. Cannon with a great market in the camera industry slowly entered the printing business. With the recent advanced features in their printers, they served as a very good brand to rely on for our printing needs.
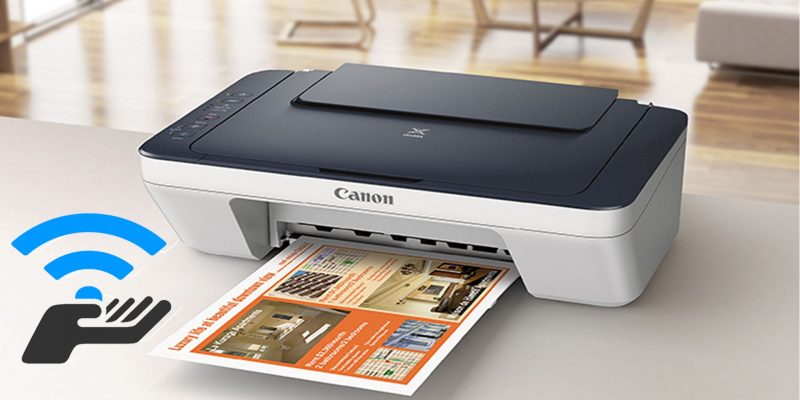
Cannon proved to be a worthy competition for all the brands that were present in the market. with cutting edge printing technology, cannon slowly started building their base in the field. There were a lot of other things that made cannon a class apart and one such was efficient wireless printing through WiFi. This made the series of printers under canon more prominent and reliable. We’ll show you how to connect canon printer to a wifi network.
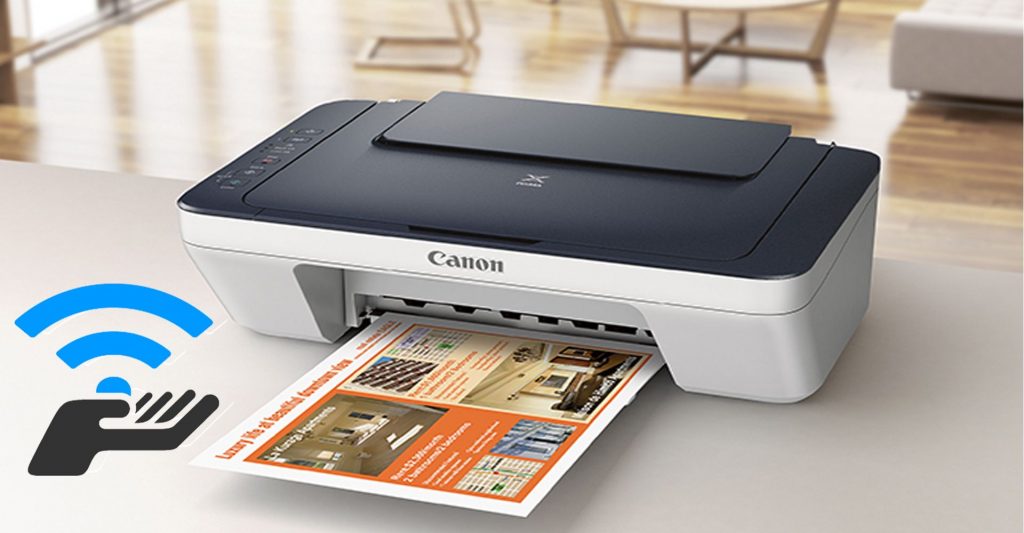
The canon printers were fast, smooth and hassle-free to operate and the toner application on the output was so good that they had a firm grip in the initial days of their release. Canon made their connectivity so fast-paced that the print was done almost instantaneously. There were a lot of additional features like the compact design and touch interactive interface to make tweaks to your printing needs and definitely the budget you are given with to work on to get your very own canon printers are the sturdy points that approve as the selling factor for these printers. These printers also had a pretty decent performance compared to all other printers that are existent in the market.
The Canon printer wifi experience:
Now that we have an idea, we have to go about with a canon printer, let’s meet the brand’s recent printer the Pixma range of printers that comes with WiFi setup. This WiFi setup is one of the most advanced and easiest way of connecting. This setup of WiFi connection is one of the best and the recent advancements in the field of printer connectivity technology. This connection is established between the devices that you want to get connected only if they are WiFi protected system protocol.
The best part is that if you are connecting a trusted device then you don’t have to enter the WiFi to establish the device. Sounds good and great to work with. Let’s get started on how you can actually connect your device with the WiFi connection. If your device is connected to the WiFi connection in which your printer is connected in then printing documents from the device is pretty easy. The printing feature is almost present in the recent range of smartphones too. That means you can print documents from your phone. Yes, you heard me right!
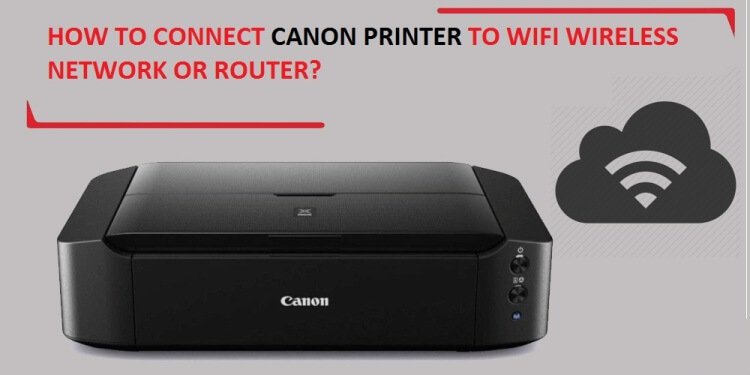
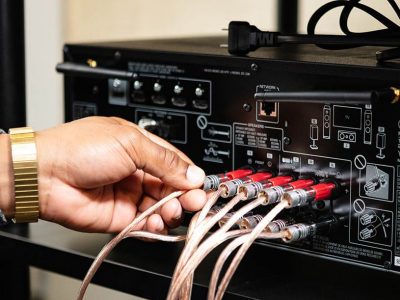
Connect your printer to the WiFi:
Some points to look out for before you actually begin:
- Make sure that the WiFi connection you are connecting the printer to is a WiFi protected system (WPS) enabled.
- Make sure the WiFi range is good at the place where the printer is located.
Here is what you need to do to establish a connection between the printer and the WiFi connection at your place.
- Make sure the printer is turned ON.
- Once that is made sure, all you need to do is press and hold the WPS button until the alarm flashes once.
- When this happens a list of access points will be enabled in the display and all you need to do is select the WPS button within two minutes.
- The WiFi lamp will blink as it is searching to find the access point and once the connection is established, the lamp will stop flashing and the light will remain lit constantly.
Some fair points to look for:
Now that we have connected to the WiFi network it is equally just to know whether we have connected to the correct Access point. For that follow the following steps:
- Turn the printer ON and load an A4 sheet into the paper tray.
- Press and hold the (Hold/Resume) button and let the light blink for fifteen times and by the end of that, the paper that you printed will get printed.
- From the printout, you must look for Connection is an active line to make sure that you have made access to the right access point.
Once you are done with the approach all you need to do is install the software of the printer driver and start printing. Just in case you don’t have any printer software to drive, you can browse from the internet and get a software installation file and install the software onto your devices.
The other way around:
The WPS system is one of the easiest ways of connecting your Canon printer to a WiFi network. But in case you want to use the standard way of adding the WiFi to your system all you need to do is insert the CD that came along with the product and run the installation process and make the driver pf the printer connected to your WiFi network.
Some troubleshooting tips:
- Unable to Print: There are a lot of issues that will lead to this. Here are some points you need to look forward to. First, check whether your document has lots of graphics to print if not then check if there are any unprinted documents left to be printed in the printer setup.
- Slow printer: the printer can be slow if the quality of the document is high. all you need to do is reduce the quality of the document in the draft mode. This will also speed up the process and also save toner ink.
- No paper alert when the paper is loaded: this is a common problem that arises usually. you might have loaded the paper tray with paper but still, the printer gives an error message that there is no paper. it is because there is some foreign object trapped inside the paper tray or try checking any damages in the paper. This may also make the printer throw up any error messages.
- Incomplete printing: This happens when there is a large amount of data being processed by the printer. the printer sometimes will take time. all you need to do is give it some time to recover and resume printing.
- printhead clogging: this happens when you don’t use your printer for a very long time. now for this, you need to open the printer sealed with a small clip above the printed paper tray and take out the printer head and wipe it with a clean cloth so that you remove the clot. Make sure you don’t use any paper kind of material as that may stick onto your printer head and make it worse.
That’s pretty much on how you can connect canon printer to WiFi network to your printer and make the best printing experience.


Comments